


Week 5 of the ORC people, homestretch!! We have worked on many projects but the most daunting was wallpaper. Not because it was the biggest job, but because we have zero experience hanging wallpaper. Small oversight. It’s fine, we can handle it… right!?
In addition to hanging the wallpaper we had to prep the wall. It was textured and of course needed to be smooth. If you didn’t know this, Rule 1 of wallpaper hanging: your wallpaper should be applied to a smooth surface.
Quick look back at the original amount of ugly below…
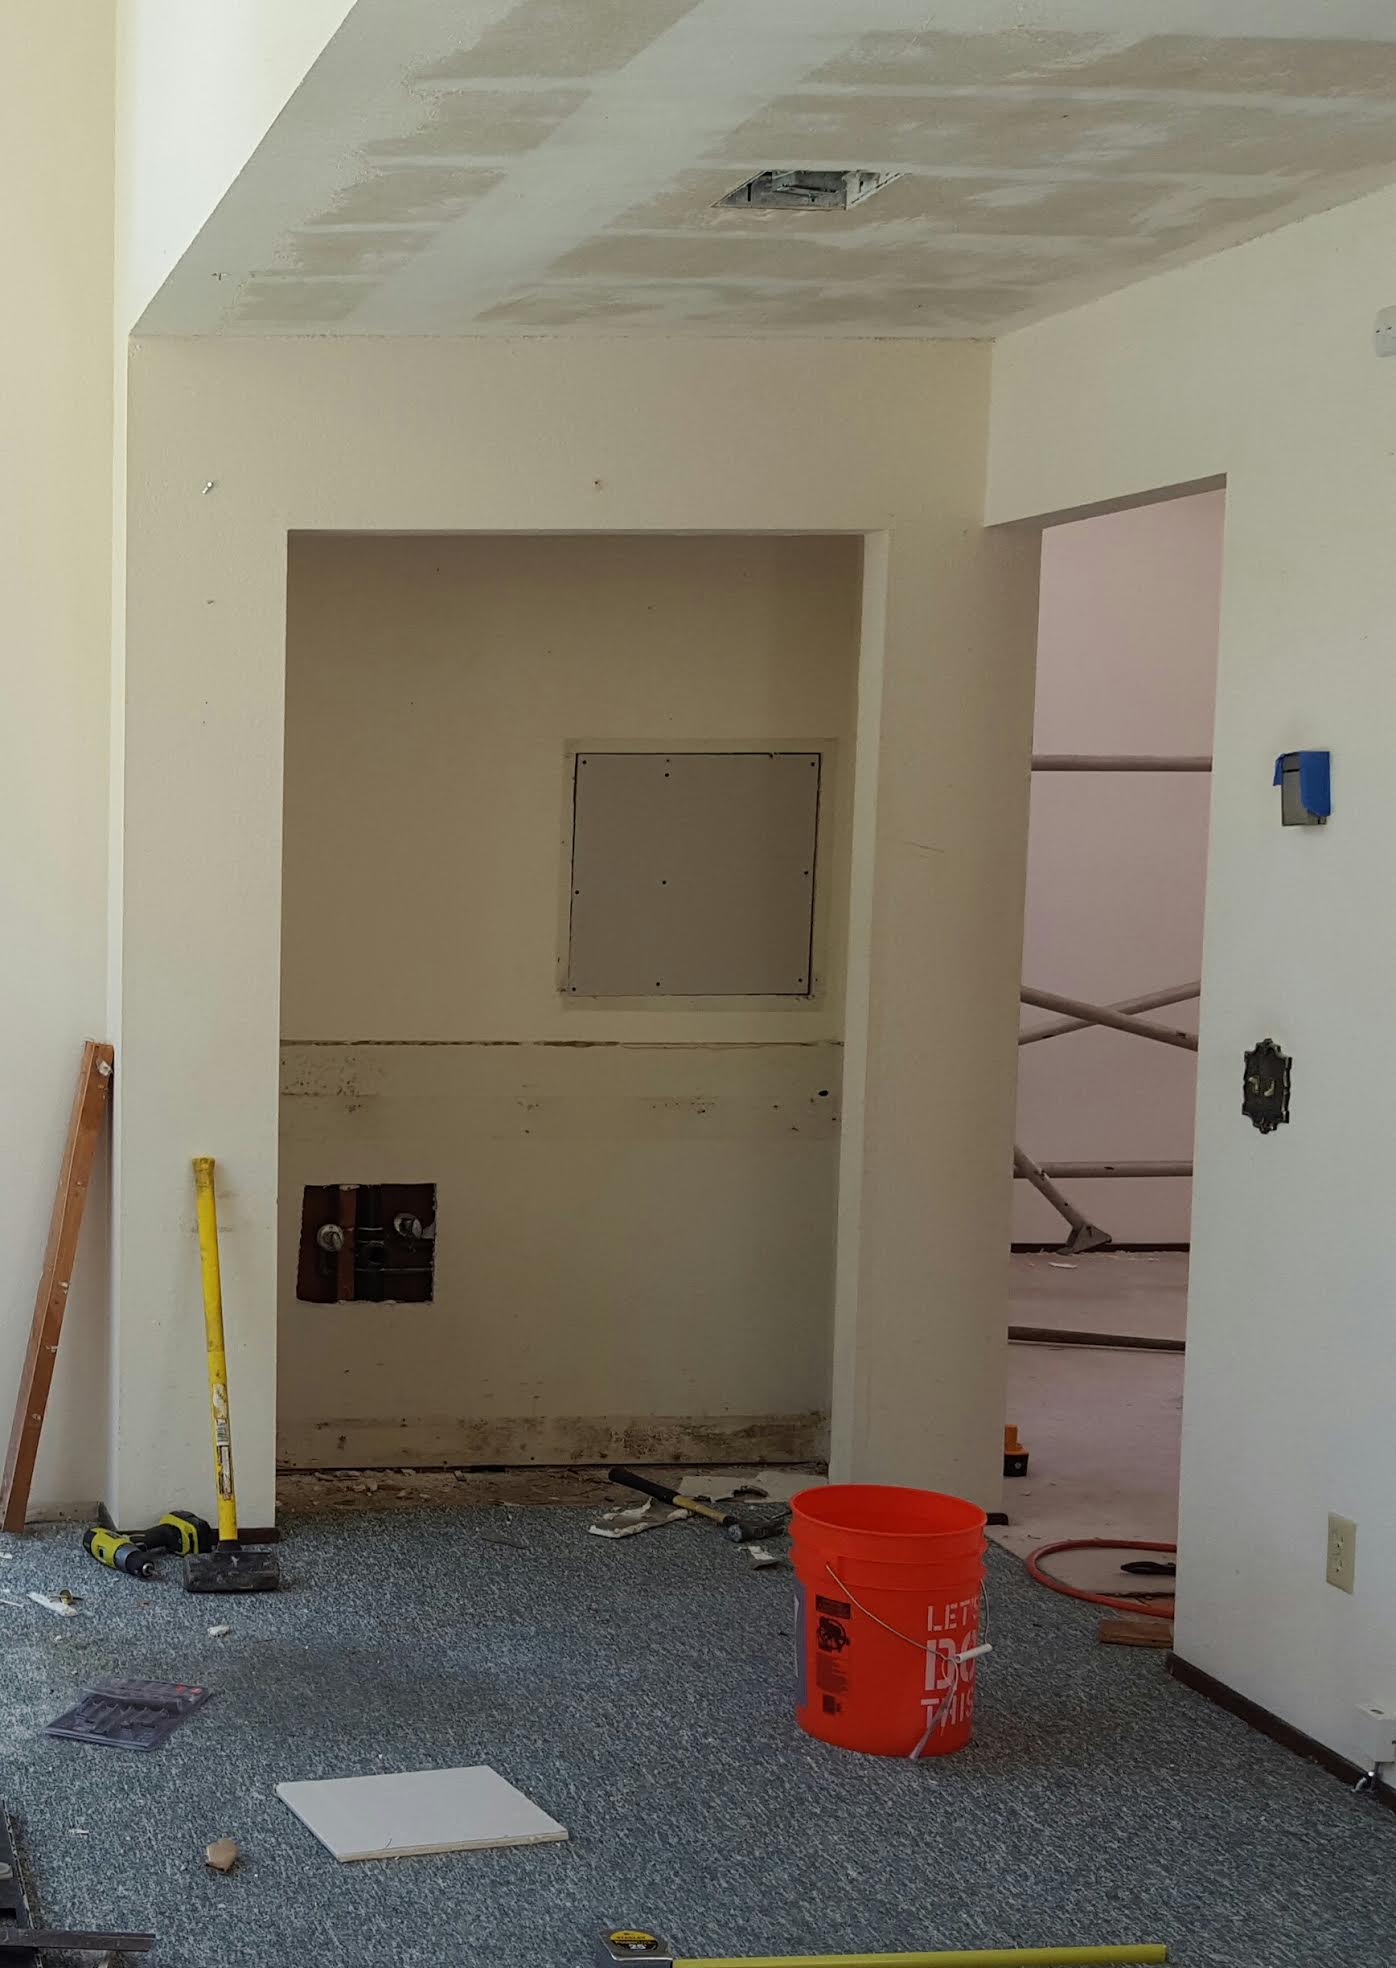
In order to prep the wall my husband had to do what is called “floating”. Much to my disappointment it’s nothing like David Blaine’s street magic trick. Deceptive title. Floating is taking joint compound and glopping it, “glopping” is a highly technical term, onto the wall and then scraping it smooth with a metal trowel or putty knife. Leaving that layer to dry and then doing it again and again until you have a smooth surface.
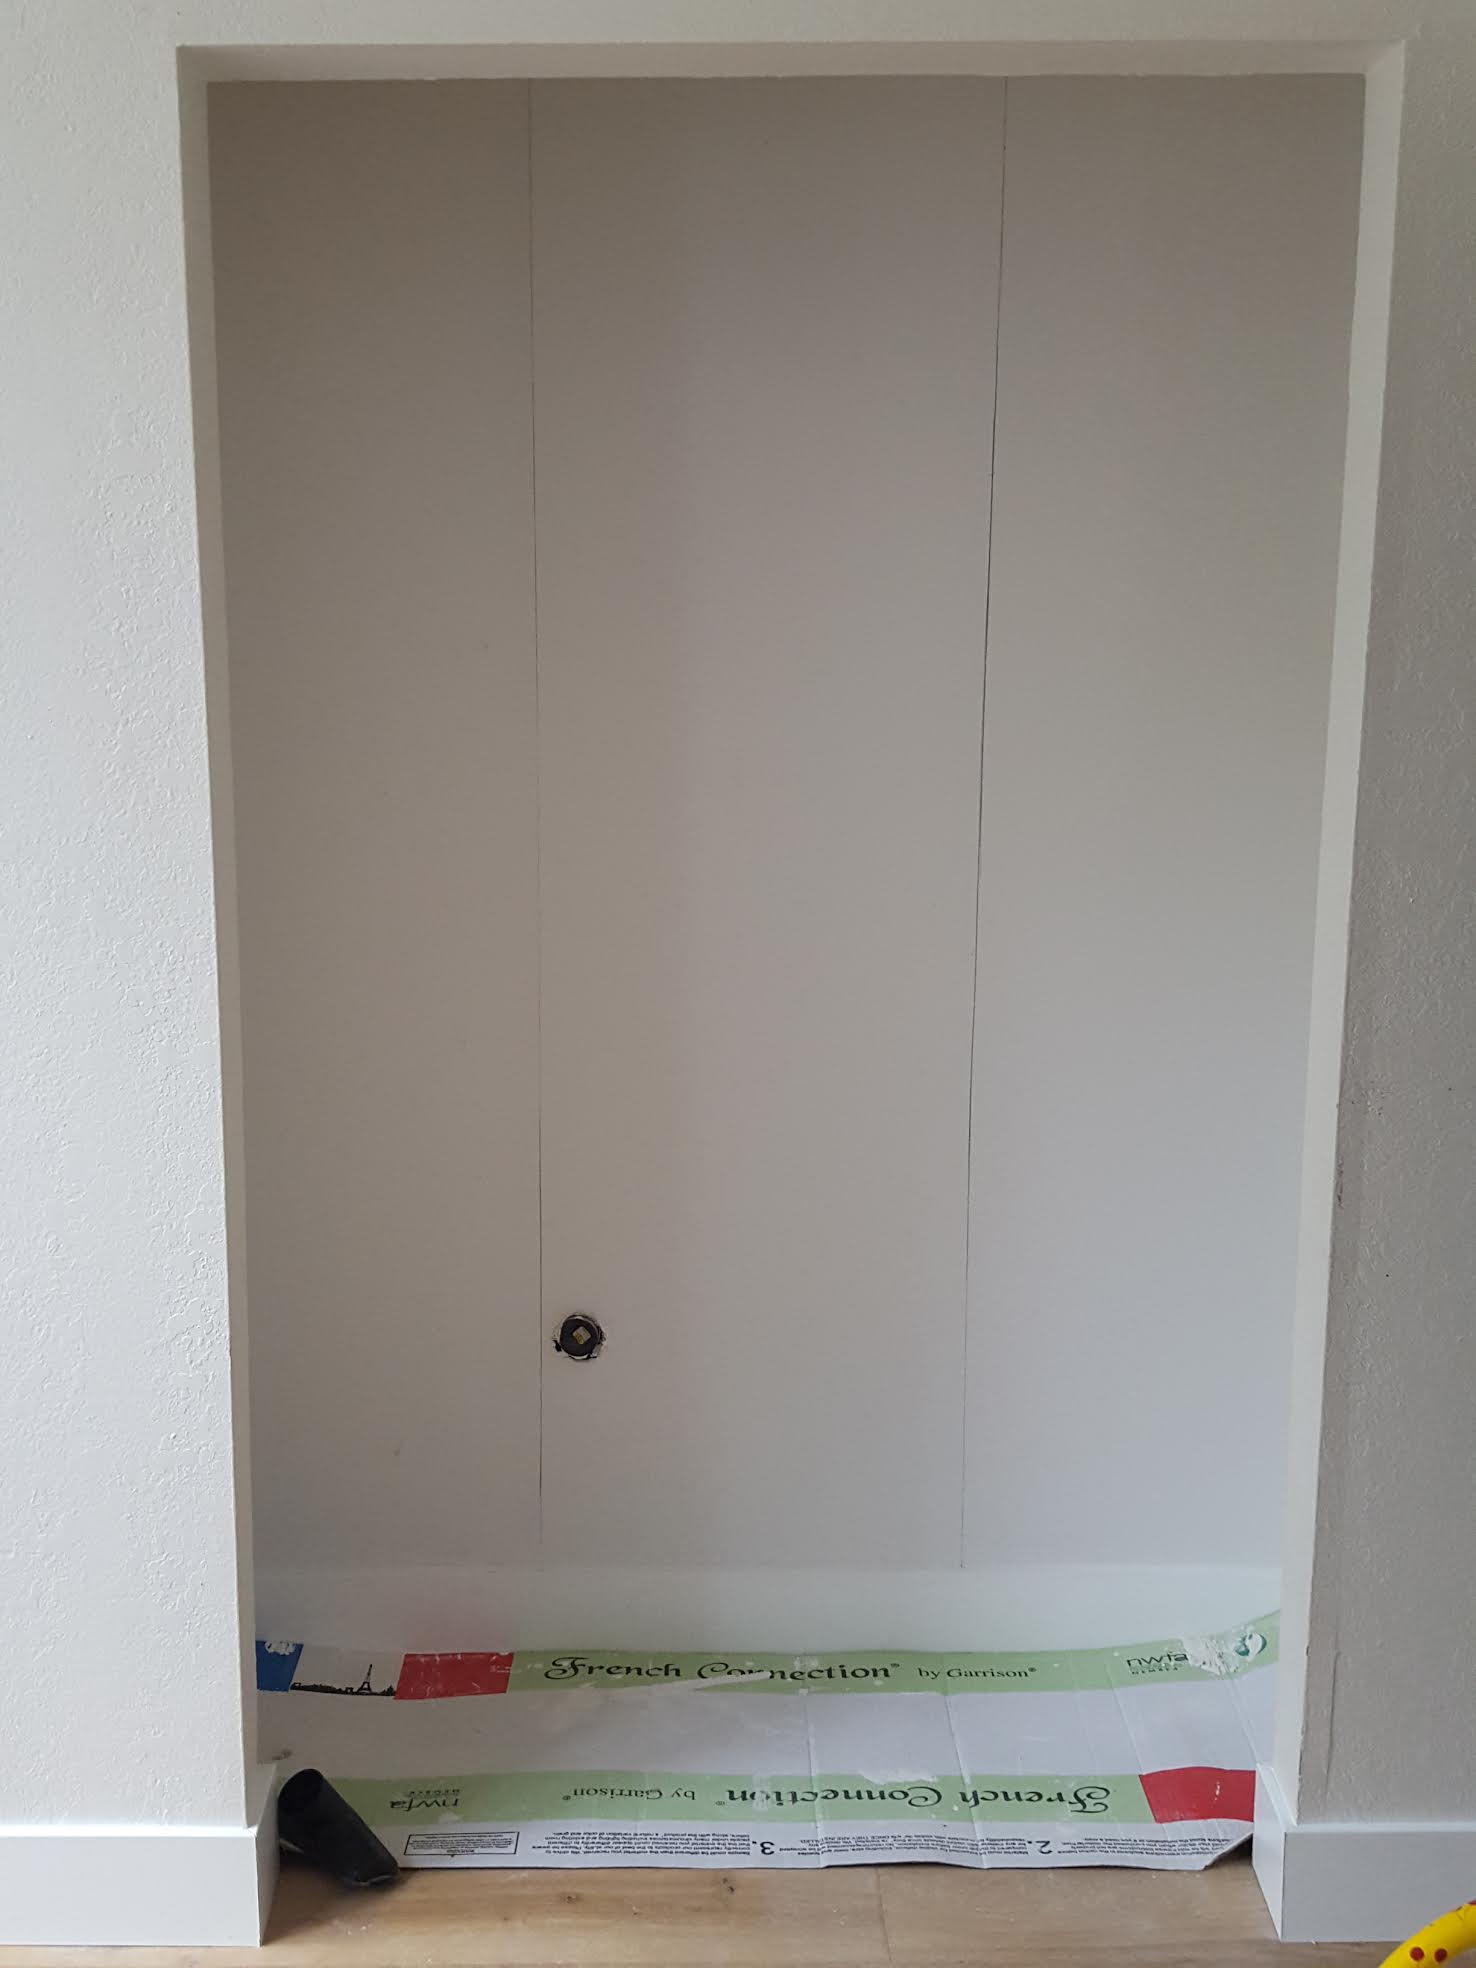
Fun fact all of our walls are textured and seeing the smooth wall made me say: “okay, were paying someone to float all of the walls”. They look so good smooth you guys. Now I just need to start playing the lotto and we’ll make that happen hahaha.
Once the walls were smooth we had to measure the wall and measure the wallpaper and figure out our cuts. Lucky for us the space was super awkward, confined and had super bizarre measurements. Yey…. It couldn’t just be easy could it!?
Note: cut the strips of wallpaper slightly wider/longer than needed so you have room for error. The excess paper can be removed with a razor knife.
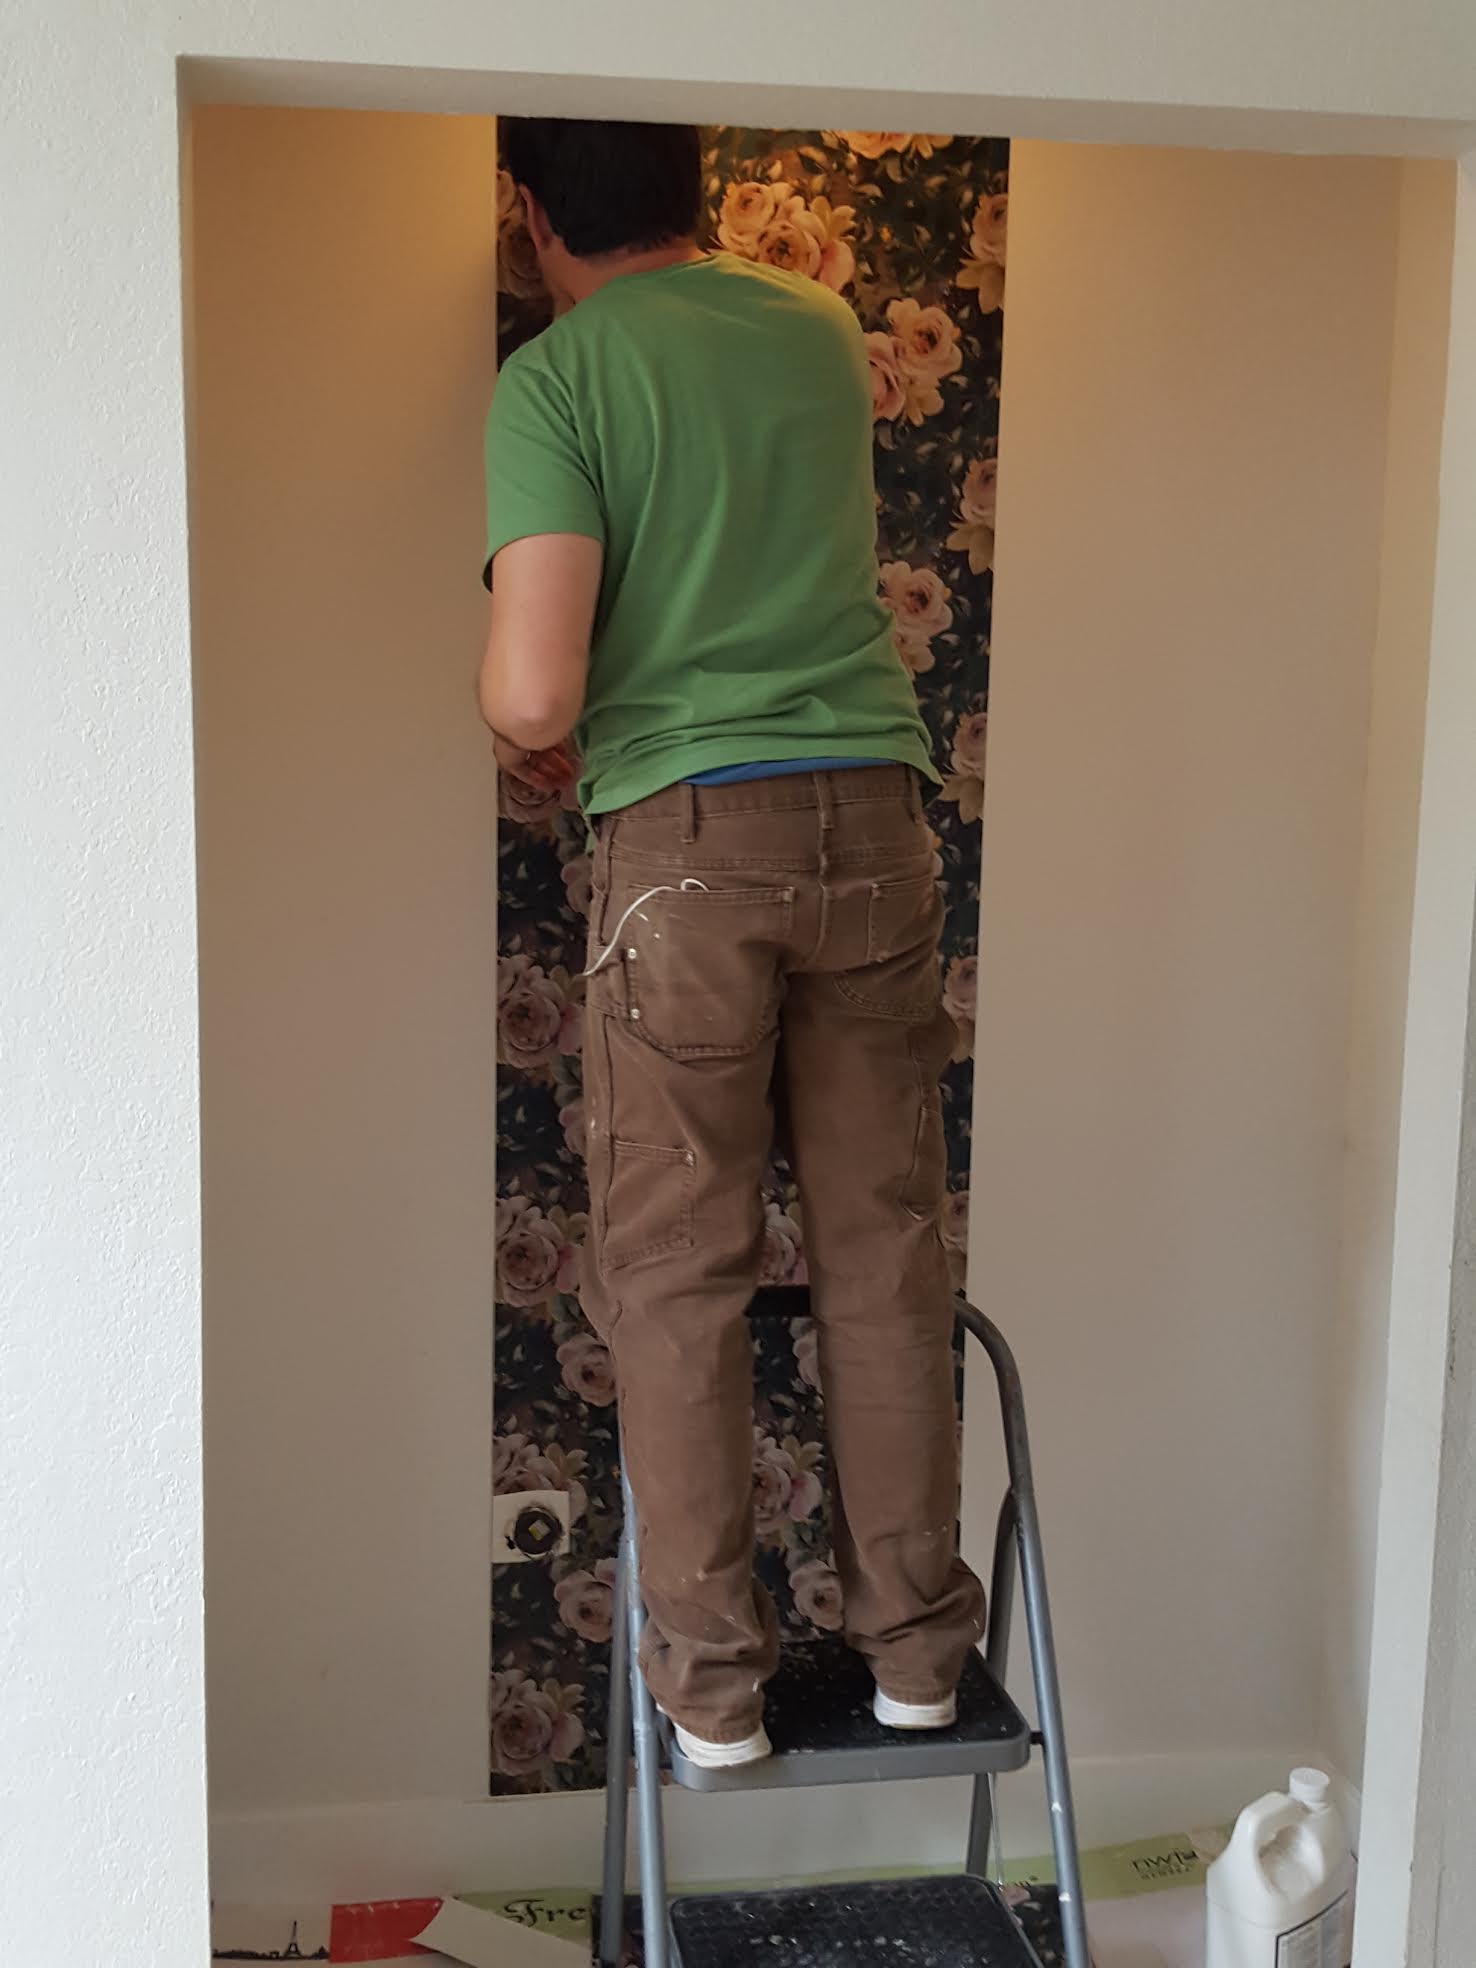
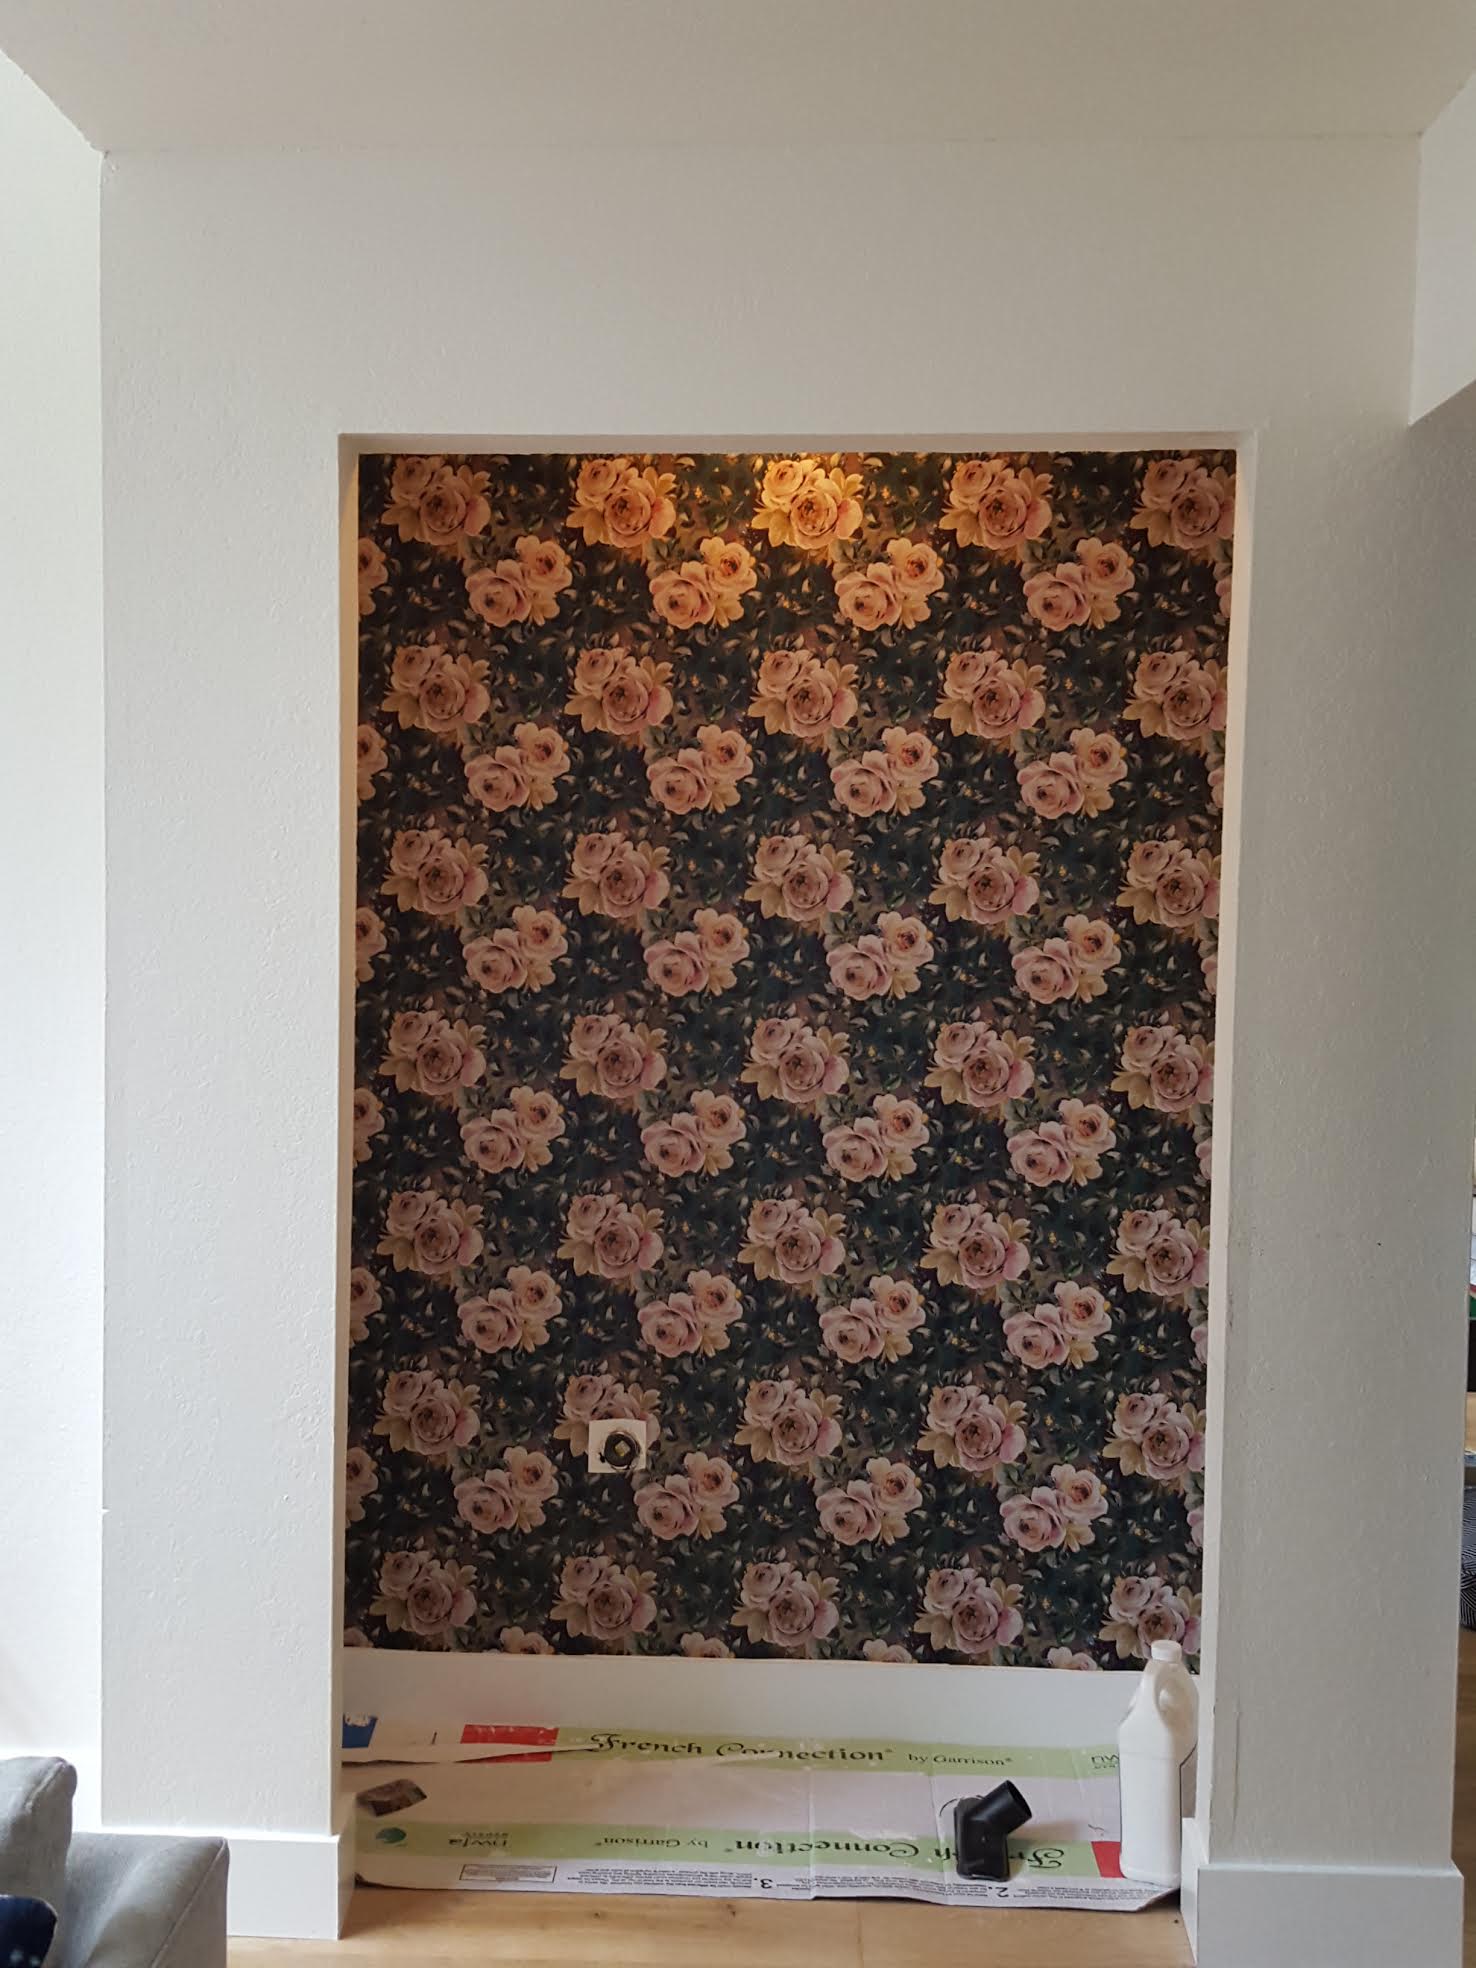
With this particular Milton & King wallpaper the instructions advised us to apply glue to the wall only, not the paper. Glue was liberally applied to the wall and then it was finally time for hanging the wallpaper. We carefully rolled on our pre-cut strips of wallpaper and adhered it to the wall, using a soft paint roller to roll it on. This is a two man job for amateurs like us.
I held the bottom end of the piece while my husband slowly applied and rolled on the paper about a foot at a time starting at the top. Once in place we smoothed it down with a plastic squeegee and sponge. Their actually needs to be two sponges, a dry sponge to smooth the bumps in glue and a slightly damp sponge to wipe of the excess glue from the edges.
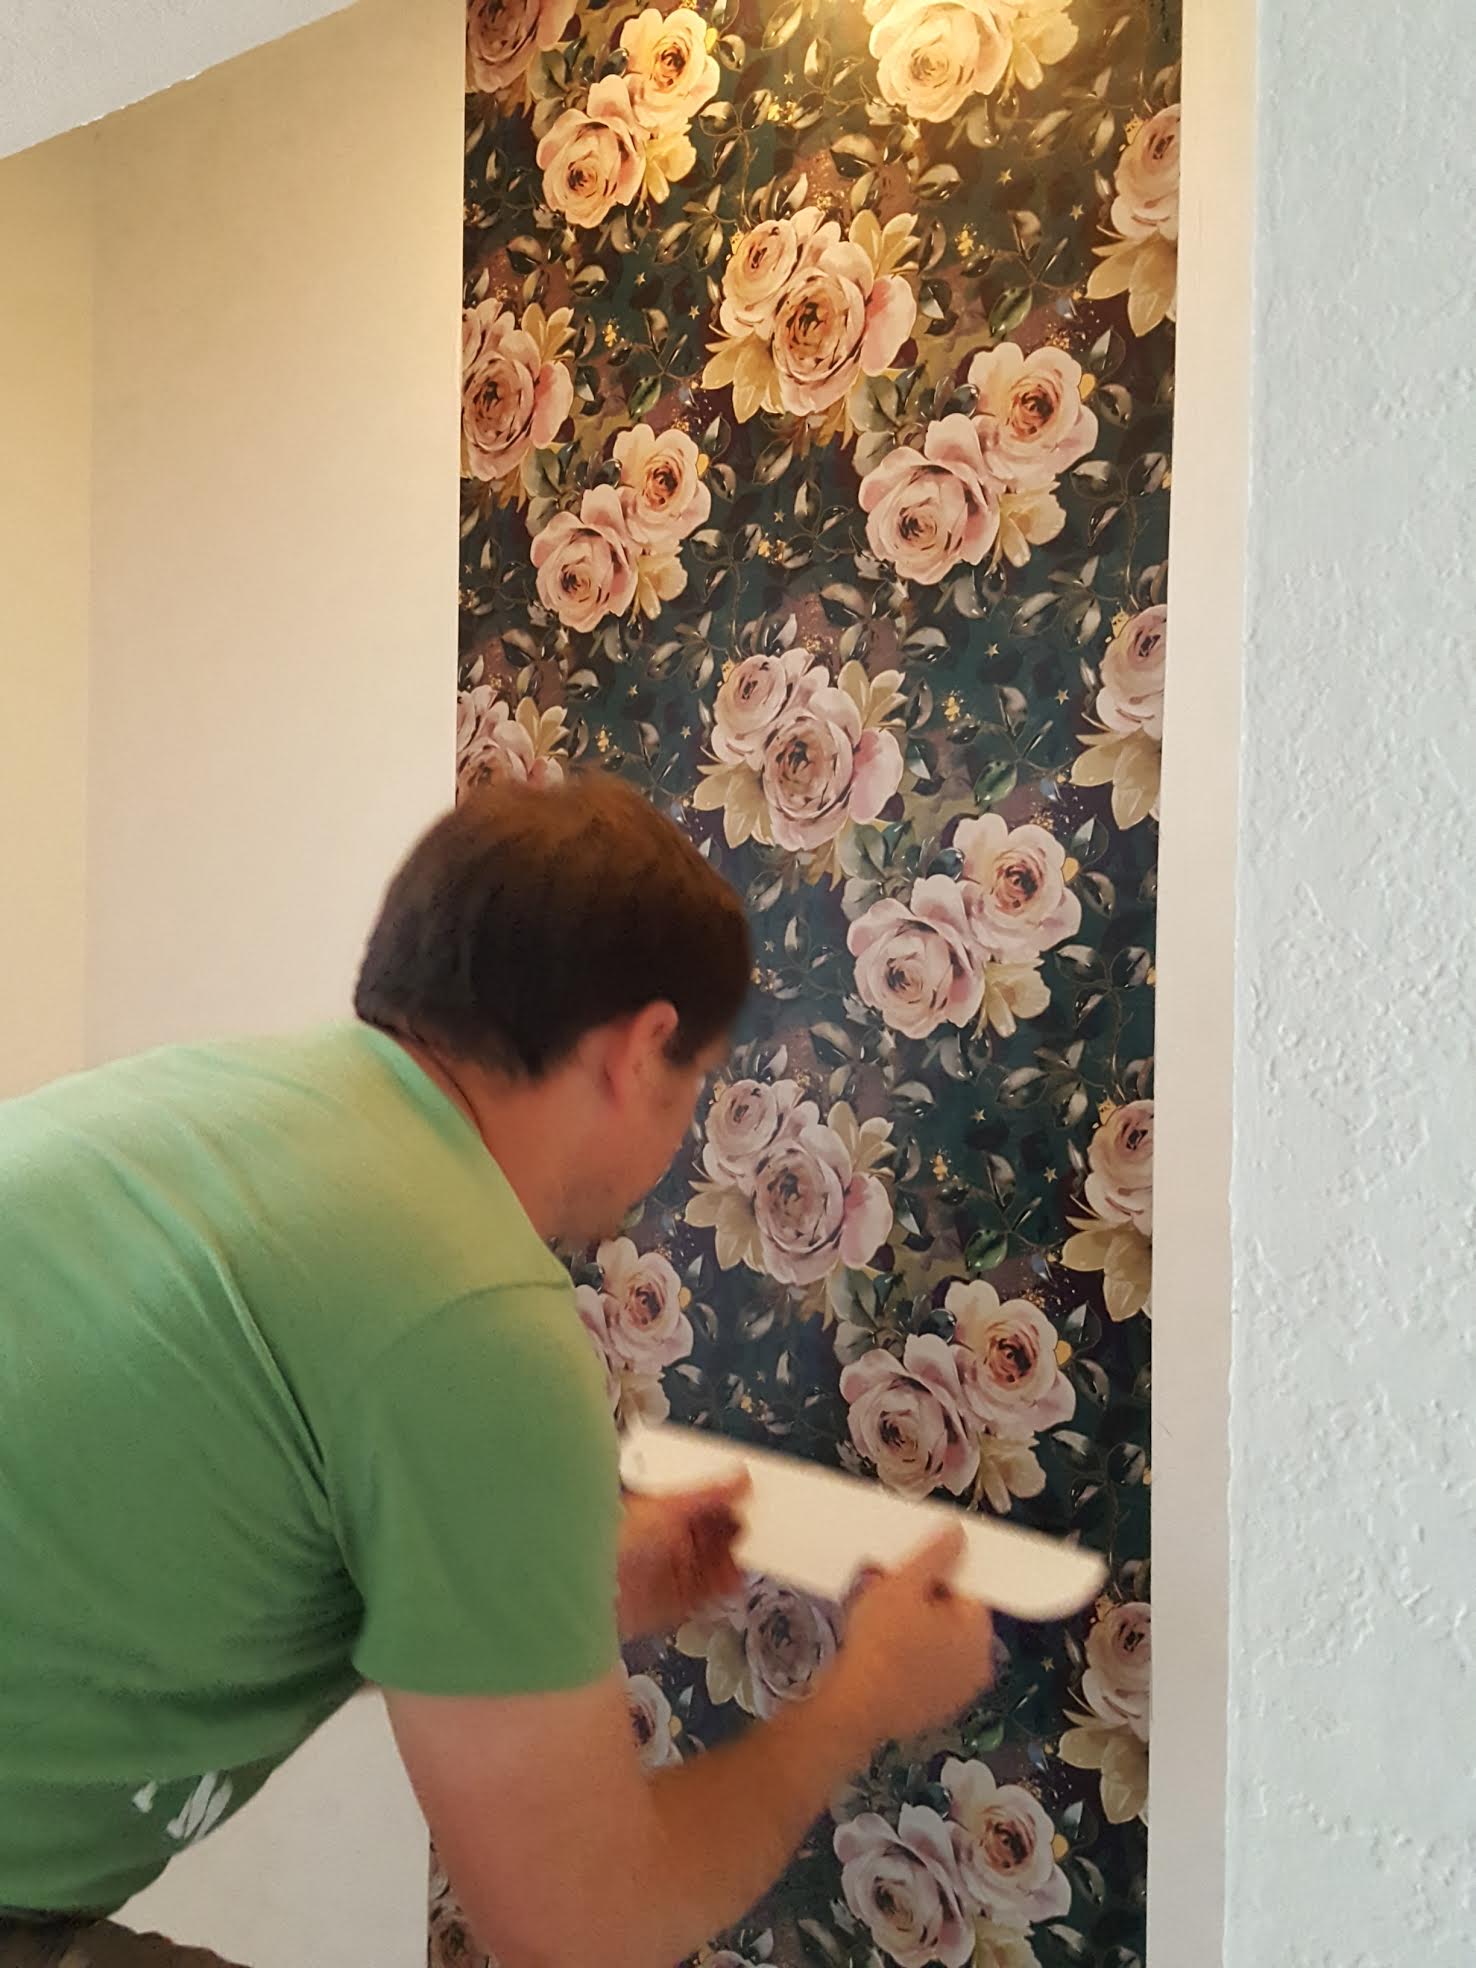
The trickiest part is lining up the pattern. I was blown away by my husbands precision, is there anything the man can’t do!?
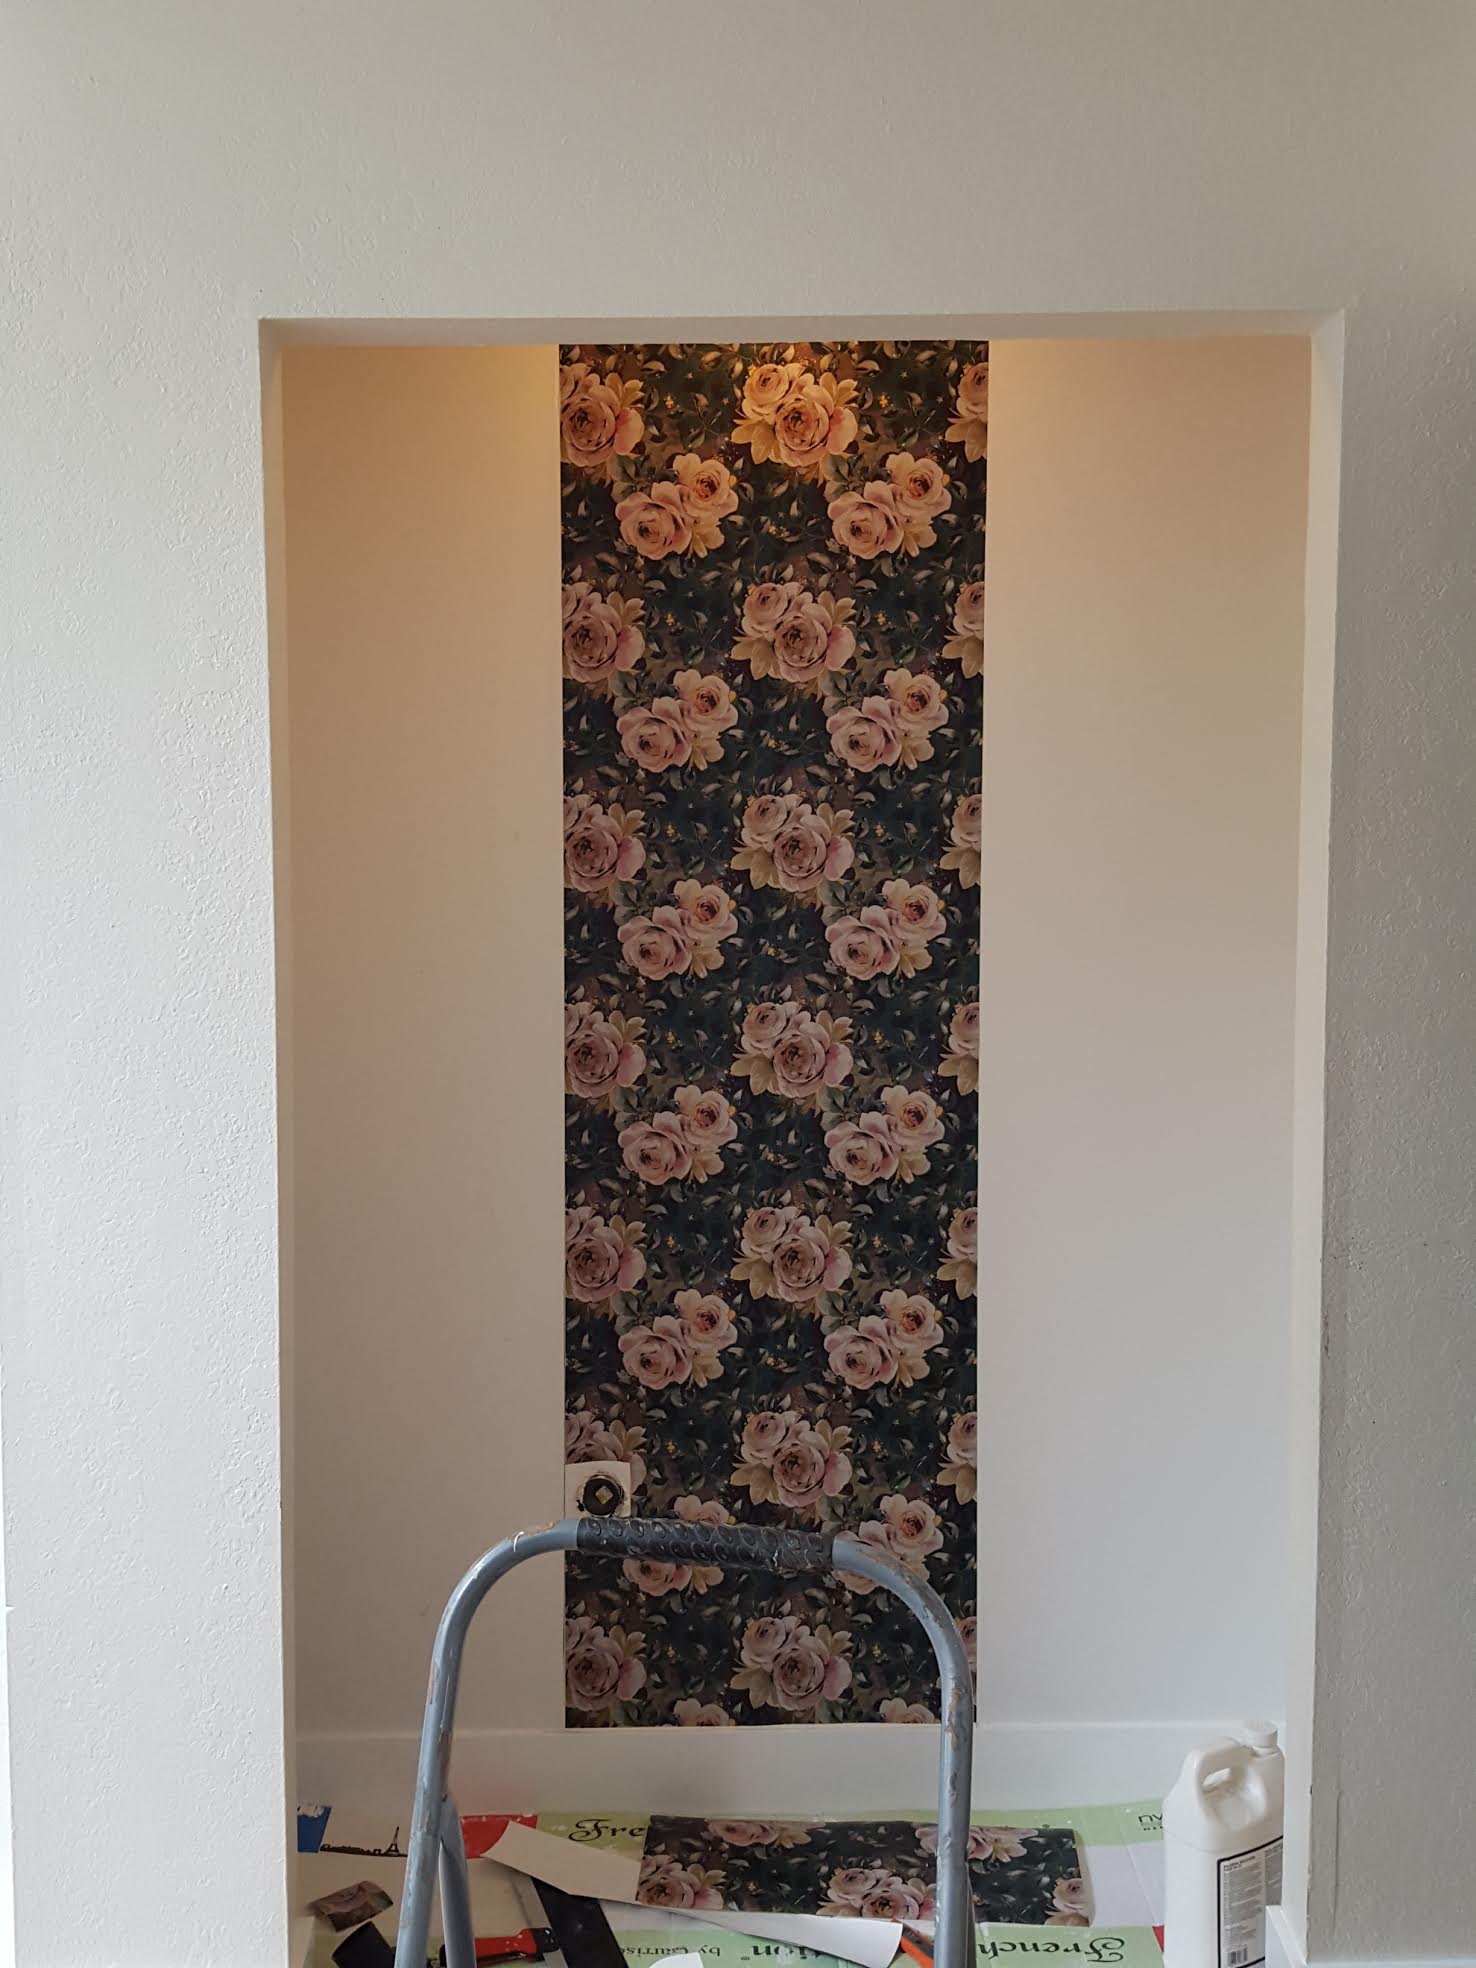
There you go, hanging wallpaper 101. A guide written by a total amateur who’s husband did all the work! Looks great though; so we must’ve done something right! The paper we used is amazing by the way, Super thick and the color is so rich. I will absolutely use Milton & King paper again for future projects!
Make sure you check out more amazing One Room Challenge week 5 progress here.
The wallpaper used was sponsored as part of a partnership with Milton & King Wallpaper. All reviews and opinions of the product are my own.
