Taking on the kitchen has been on our to-do list of nearly three years. For those three years we have been operating in a half demolished kitchen on plywood floors. Bleh! BUT we are finally tackling that bad boy; clouds part angels sing. Doing so however, has been a learning experience. In the beginning we found ourselves paralyzed with fear, wondering where do we start. It felt like we were playing a game of high stakes dominos and knew once we made our first move all of the dominos would fall and we needed them to do so in the right order. Learning how to do it right was not without its challenges and our dominos did not all fall seamlessly. That is why I’ve made this list to help you avoid our mistakes.
So here is our recommendation for you kitchen renovation timeline:
- Give yourself a budget and include 10% overage on all projects and factor that cost into your budget
- Design the space. Cabinets, colors, counters, paint, light fixtures, switch plate covers, tile, grout, faucets, pantry door, will you need open shelves, appliances… All of the design elements need to be chosen before swinging that sledge hammer. Get samples where applicable; everything looks different in person versus online.
- Find subcontractors (tile, windows, counter fabricator, electrician, plumber, flooring) and get any permits needed *you will need samples of tile and counters in order for those subcontractors to bid that work*
- Determine which of the elements in your design are custom orders and get those going first and scheduled with sub contractors first. These custom orders will dictate your timeline because they take the longest to be made ready for install. Order and schedule.
- Once you have all the custom timelines and installs on schedule, you can use this info to start ordering and planning arrival for all of the parts and pieces that can be more readily available i.e lighting, hardware, fixtures, tile. Get those items ordered and store them on site, so you can make sure you have everything, have enough of it and insure it is in good condition so you have time for returns or amendments. Your subcontractors can help you determine how many square feet you need of things like flooring and tile etc.
- Set up a temporary kitchen. We did this in our dining room using a coffee pot, toaster and microwave. We boxed up everything we rarely use and stored it away in garage. We kept the day to day needs on an easily accessible shelf in the garage and got a cheap cabinet for our “pantry” in the dining room. We used a lot of paper plates and be prepared to eat a lot of to-go food.
- Demo the kitchen and remove everything. We kept the cabinet that housed the kitchen sink and dishwasher. We were able to keep this for the first few weeks because we didn’t relocate plumbing. We avoided the bathtub dishwashing scenario for as long as we could.
- Electrical and plumbing subcontractors should start first. They will cut into the drywall and it will be the most mess and repair. You will need to know exact placement of any light fixtures, pendants, where you want outlets and switches as well as sink and pot filer placement, etc. etc. in order for these subcontractors to do their job.
- New windows/doors installed
- Sheetrock repaired and finish
- Paint
- Cabinet install/floating shelf install
- Cabinet hardware install
- Sink install
- Countertop install *these can’t go on without sink in place
- Faucet Install… pot filer install if you opted for one
- Tile/backsplash install
- Flooring, make sure you get flooring underneath the stove, refrigerator and dishwasher but it is unnecessary to waste money on flooring to go under the cabinets *per our professional flooring installers suggestion
- Install appliances
- Electrician will come back and do finish work, install pendants, switch plates etc, the pretty details to round out space. The jewelry!
- Style and enjoy
We did not order all of our custom parts and pieces when we should have. We are in limbo on our kitchen because we did not get the windows, pantry door or custom shelving ordered at the beginning of the project. My indecision and naive belief they could be made faster has caused a 4 week delay minimum. I would do that differently next time. Live and learn!
Expect delays.
Our setbacks have been-
-Poor craftsmanship from sheetrock subcontractor that we had to go back and finish ourselves.
-Wrong counter stone was delivered. We are two weeks delayed on having the right counters and still can’t connect a working sink because of this error.
-Appliances on backorder. Still don’t know when they’ll arrive, just being told “March”
-Delayed custom orders for Pantry Door, Windows and Shelving. These are all my own fault as I ordered them much too late.
Without these delays our kitchen would have been done in two months. With these delays our kitchen will take three months to complete.
We hope these tips on how to plan a renovation timeline will help make your own renovation timelines run more smoothly!!
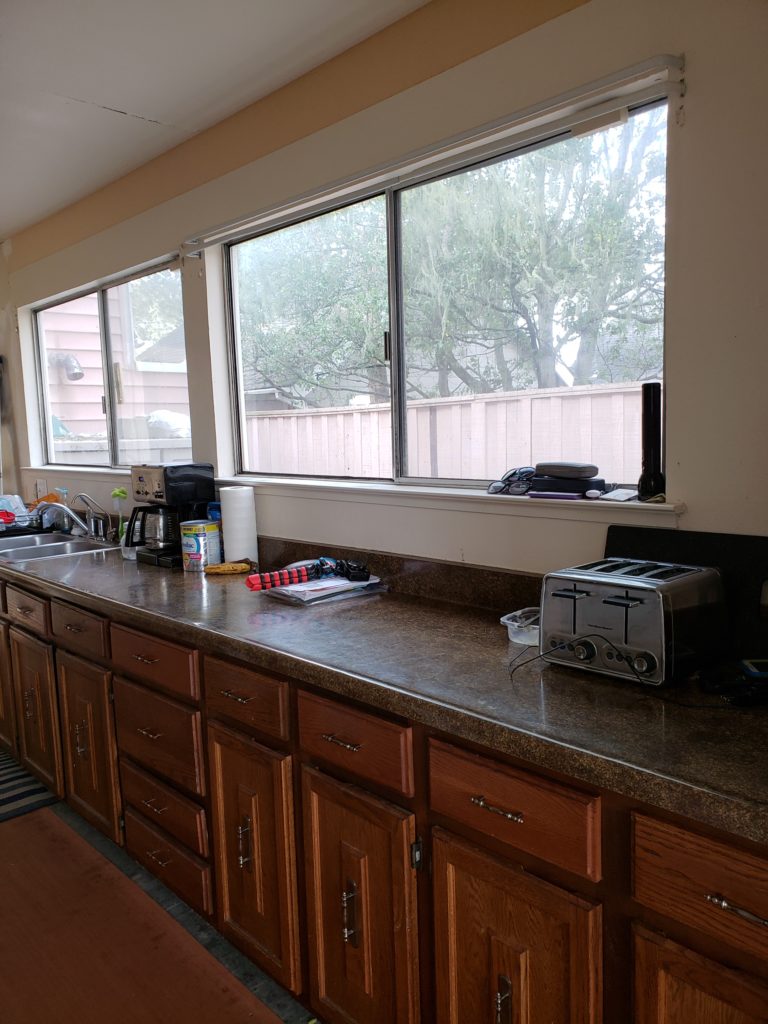
Here are some before and during progress shots for you to enjoy while we all wait for that final reveal.